 Tinkercaster
Bench reference · 01
Guitar soldering
cheat sheet.
The steps to keep beside you when the iron is hot. For pickup leads, pots, switches and output jacks.
Open printable sheet ↗Free to read. Print or save as PDF from your browser.
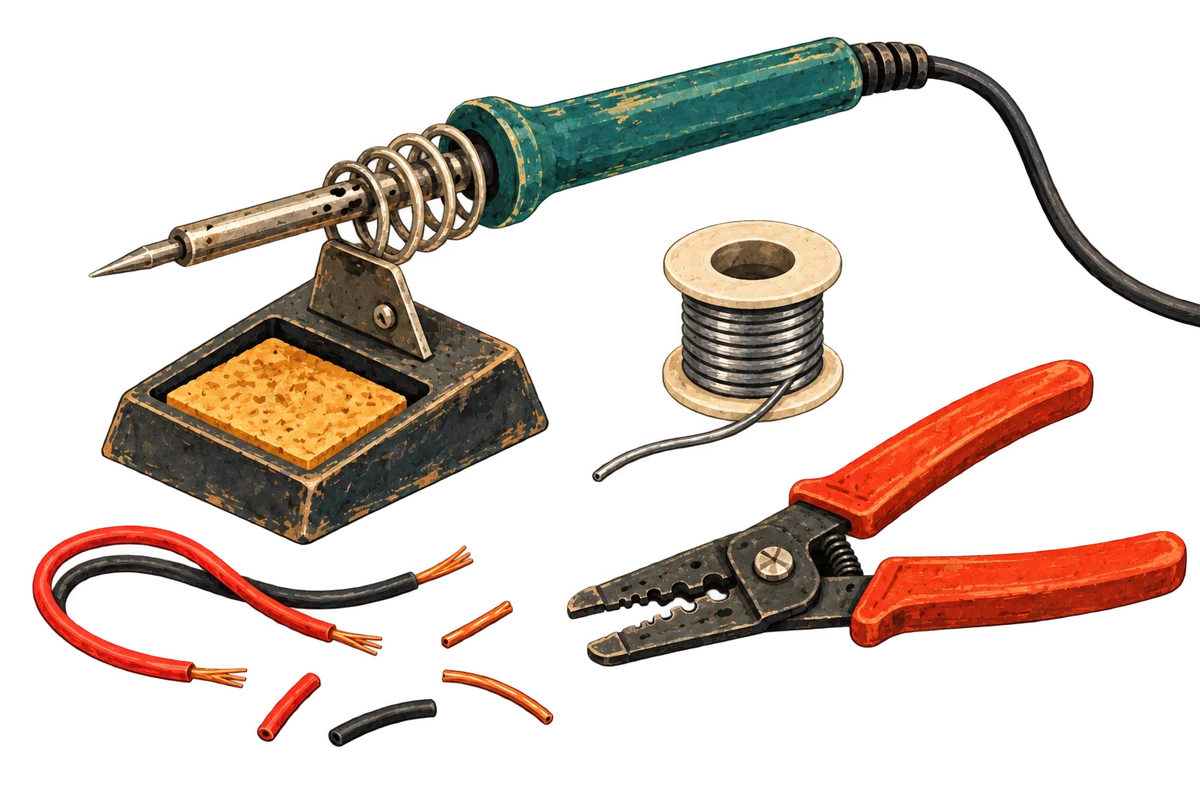
Before the iron touches anything
Make the instrument safe
Unplug the guitar and remove any onboard battery. This sheet covers guitar wiring, not amplifier or mains-powered repairs.
Set up the bench
Wear eye protection. Extract fumes away from your breathing zone, use a stable iron stand and protect the guitar’s finish from heat and splashes.
Choose the materials
Use electronics solder and compatible electronics flux. Plumbing solder and acid flux do not belong in guitar wiring. Follow the flux maker’s cleaning instructions.
Fit the tip to the joint
A chisel tip gives useful contact area. Choose one that reaches both parts without touching neighbouring terminals or plastic.
Make the connection
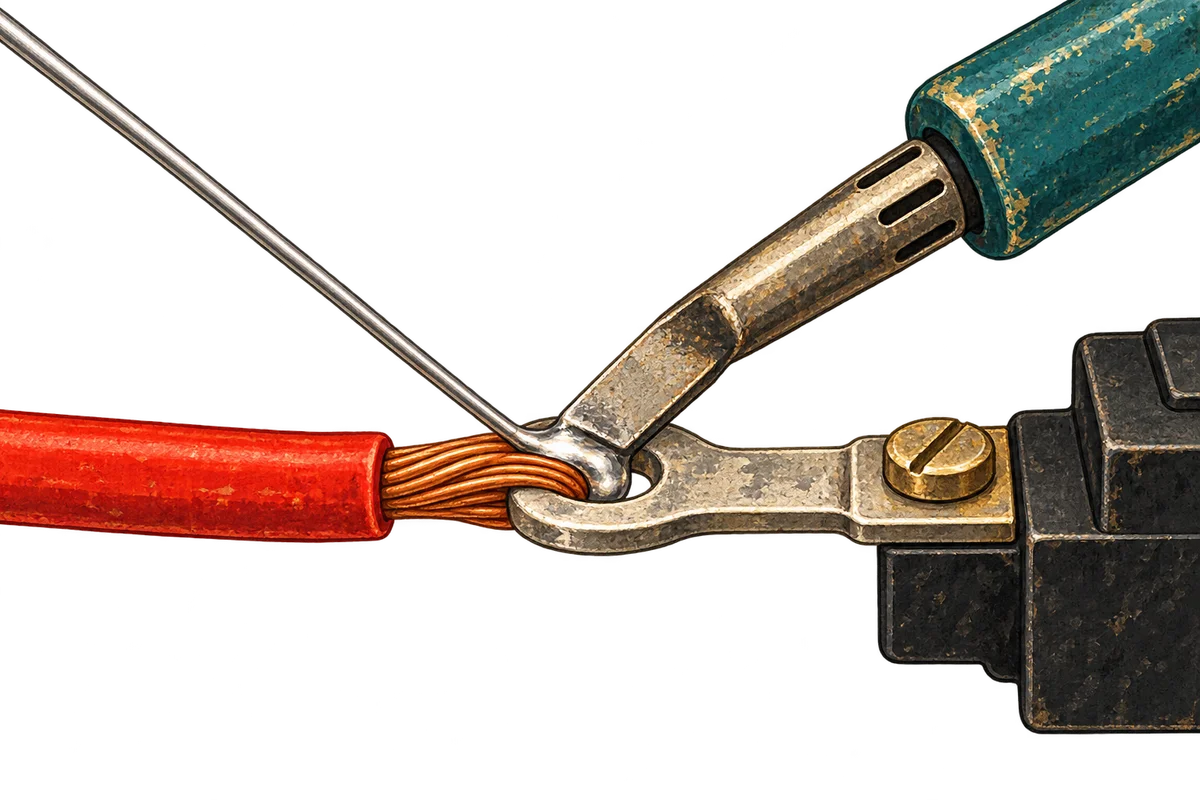
Prepare the wire
Slide heat-shrink on first, well away from the heat. Strip only enough insulation for the connection. Gather the strands without nicking them or leaving loose whiskers.
Tin and position
Clean the tip with its recommended cleaner, then coat the working face with fresh solder. Lightly tin the conductor where appropriate. Seat the wire in the lug and support both parts so they stay still.
Heat both parts
Touch the tip’s working face to the wire and the lug together. A thin film of solder on the tip helps transfer heat. Keep the tip clear of insulation and the component body.
Feed solder into the joint
Bring solder to the heated connection, away from the tip. Let it wet the metal and form a small fillet. Stop feeding once the connection is covered; a large ball can hide poor wetting.
Withdraw and hold still
Remove the solder wire, then the iron. Keep the connection still until the solder has solidified. Let it cool before touching it or moving heat-shrink into place.
Inspect and test
Look for wetting onto both parts, loose strands, bridges and damaged insulation. With power disconnected, check the intended connections and possible shorts with a meter before reconnecting the guitar.
Temperature & tip care
Good contact comes first.
Use the solder and component manufacturers’ recommendations. The station setting is not the temperature of the joint. Use the lowest setting that wets the joint promptly with a suitable tip.
Clean the tip with the recommended cleaner and re-tin it. Use standby or switch off between sessions. Do not file a plated tip. If solder stops wetting it, follow the tip maker’s recovery instructions or replace it.
Read the joint
Wetted edges
Solder meets both metal surfaces and flows around the conductor. The outline of the connection remains visible.
No bridges or whiskers
No solder connects neighbouring terminals. Every strand belongs in the intended connection.
Colour is not the verdict
Lead-free solder can have a matte finish. Judge wetting, shape, movement damage and electrical behaviour, not shine alone.
A continuity beep alone does not prove the joint is sound: another path in the circuit can also make the meter beep. Inspect the connection and understand the circuit you are measuring.
Something isn’t flowing?
Solder beads up instead of spreading
Stop and let the part cool. Check for contamination, oxidation or an unsuitable surface. Clean it using a method suitable for the component, add compatible flux if needed, and retry with good tip contact.
The joint takes too long to heat
Check that the tip wets with solder and has enough contact area. A pot casing takes more heat than a small lug. Improve tip size and heat transfer before increasing temperature; avoid holding the iron on a component indefinitely.
There is a large blob or a bridge
Let it cool, then remove excess solder with suitable wick or a solder sucker. Rework with fresh compatible flux as needed. Inspect adjacent lugs before testing.
The insulation retreats or the wire becomes stiff
Stop heating. Excess heat and solder wicking can damage a lead. Cut back and remake it if there is enough length; replace damaged wire rather than hiding it under heat-shrink.
A joint moved as it cooled
Support the parts, then reheat the whole connection until it flows again. Use compatible flux as needed. Hold it still through solidification and inspect again.
At the guitar bench
Pot backs
Check that the casing is intended to accept solder. Prepare and pre-tin the spot using the pot maker’s guidance. Use adequate tip contact and a short heating cycle; let it cool before another attempt. Do not flood openings with flux or solder.
Pickup leads
Keep track of the manufacturer’s conductor colours. Insulate unused conductors and series links as the wiring diagram requires. Keep solder from wicking far under the insulation, where it creates a stiff section.
Switches and jacks
Confirm each terminal before soldering. Heat can soften plastic or disturb internal contacts. Follow the component’s heat limits and inspect for bridges around closely spaced lugs.
Before you switch off
Work through these before the guitar goes back together. The ticks stay on this page only.