 Tinkercaster
Getting started
From wiring diagram to your next solder joint
A drawing shows the finished circuit. Here’s how Tinkercaster helps you plan the wiring, understand the connections, and work through the build step by step.
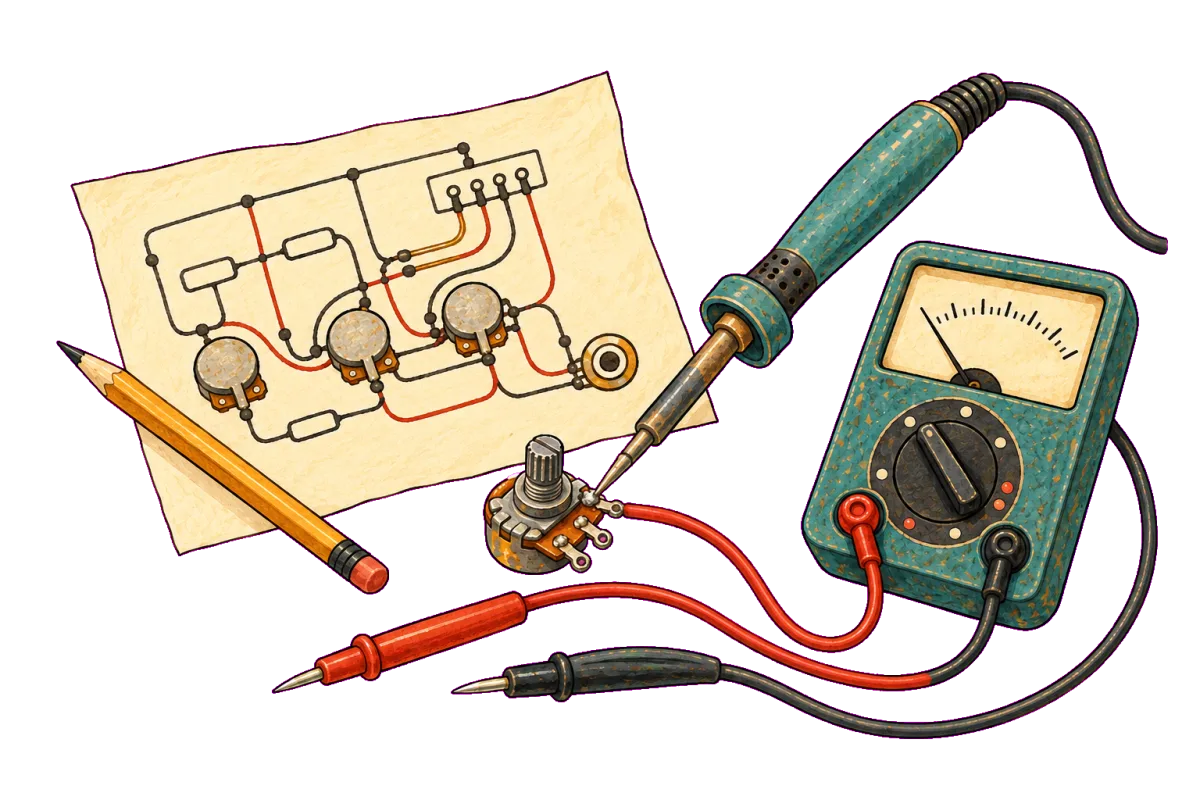
A wiring diagram gives you the finished circuit. When you sit down to build it, you still need to decide where to start and when to check a connection with the meter.
In Tinkercaster, you can work on the drawing, read its wiring checks and ask Luthier for help in the same workbench. A guided build then takes you through the physical work.
Start with the guitar you actually have
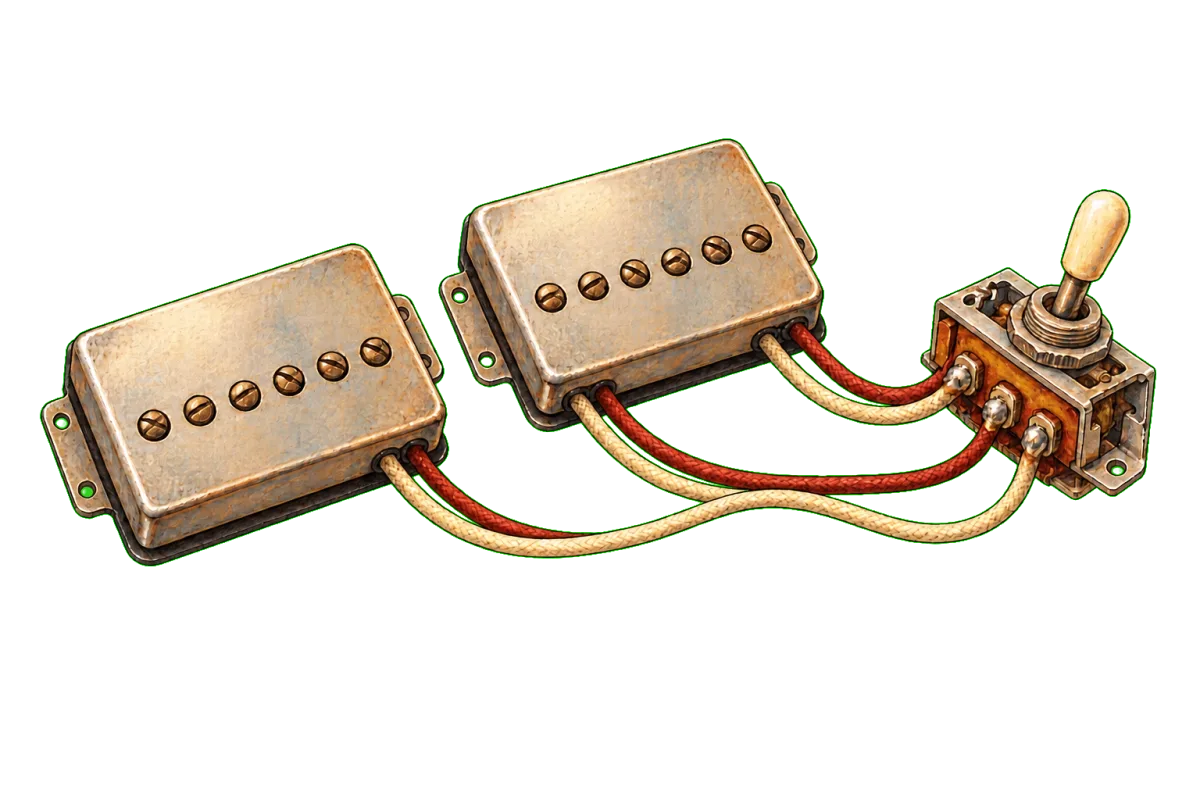
Find a diagram in the wiring diagram library with the pickup layout, switching and controls you want. Compare the electronics even if the guitar name looks right. Two guitars with the same outline can have different wiring.
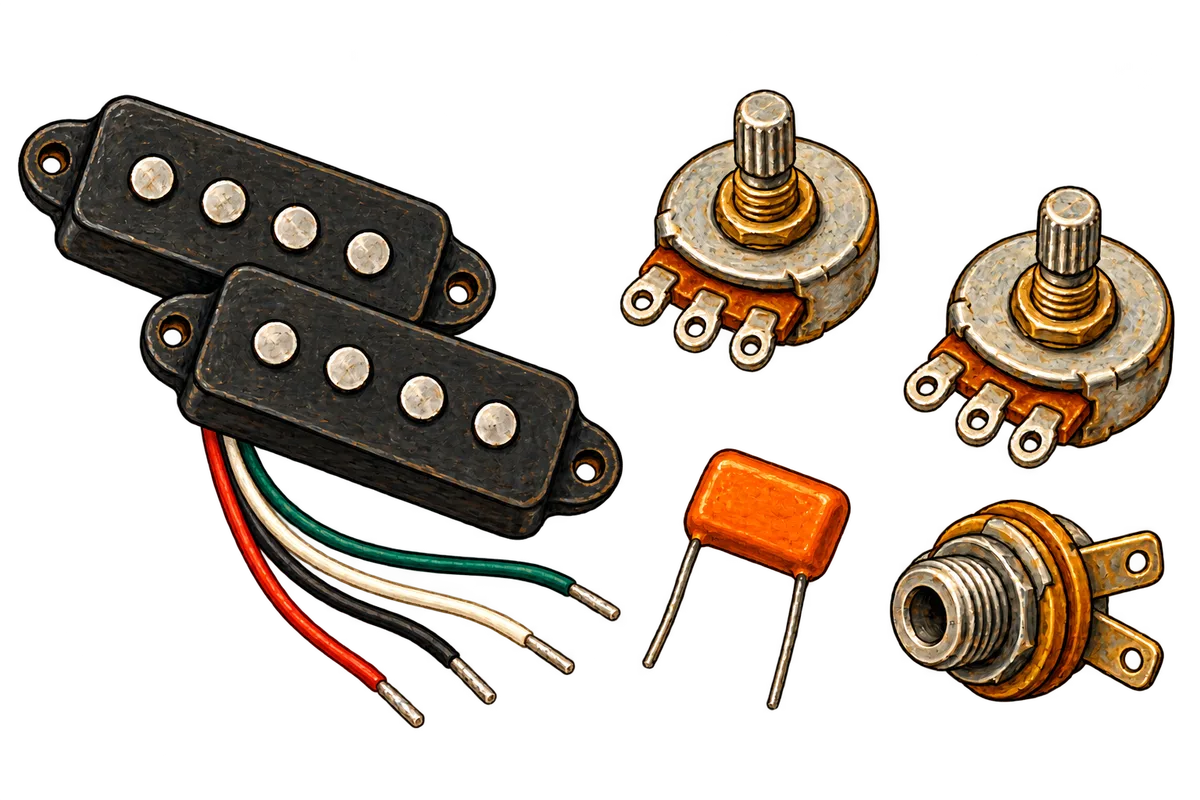
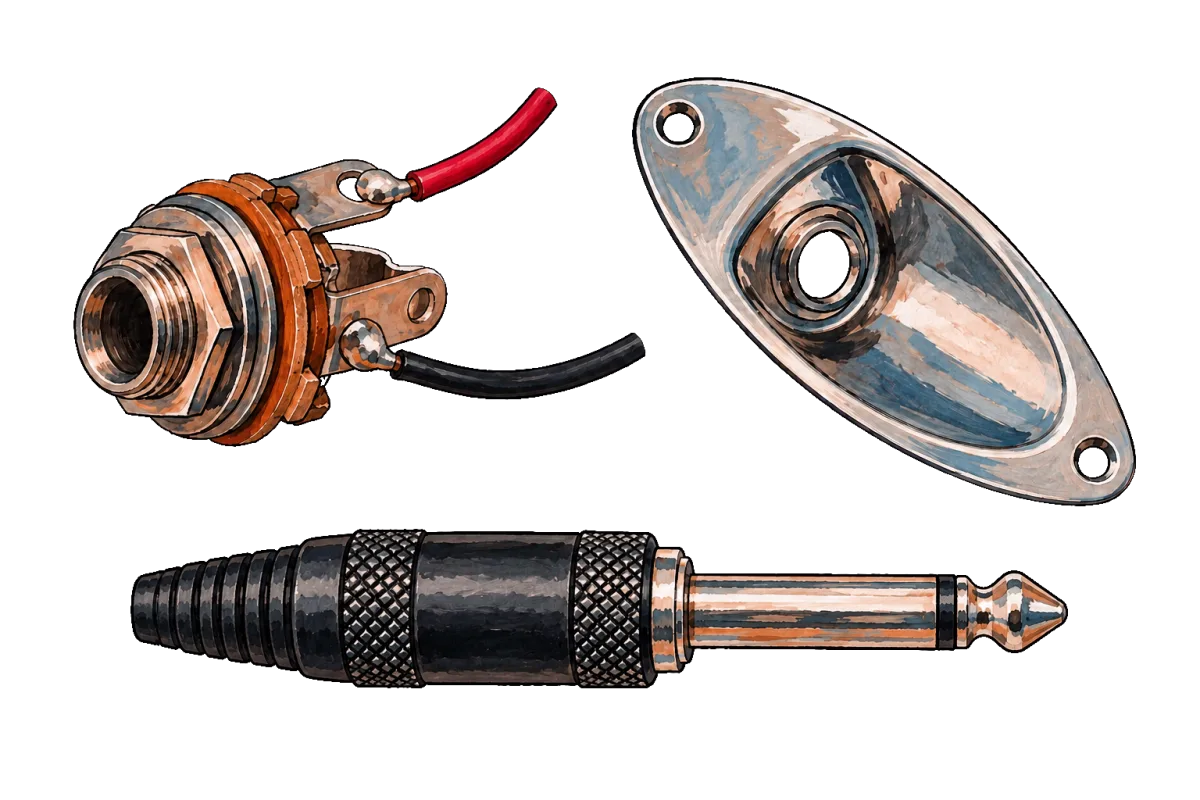
Then compare the drawing with the parts in front of you. Count the pickup wires, check the switch arrangement and read the markings on your pots. Use the maker’s wiring information to identify terminals and lead colours.
The public library is free to browse, and drawing, saving and customising your own boards is free with an account. You’ll need Tinkercaster Pro to use Luthier or follow guided builds.
Make your changes on the board
Open the diagram in the workbench, or start with a blank board. Arrange the components and connect their terminals to draw your circuit.
Work out the control arrangement here, where changing a connection only means editing the drawing. Changing your mind after you’ve soldered it is harder.
You can switch between wiring and schematic views to understand a connection. Guided builds use the physical wiring view.
Read the checks, including the notes
Open the check list to see which connections need attention and where they are on the board. The checks cover the circuit you’ve drawn, so you still need to confirm that your physical wiring matches it and inspect your solder joints yourself.
Read the limitations alongside the results. A component’s exact pinout, for instance, may need checking against the part in your hand even when the circuit passes.
Ask Luthier about the part you’re working on
Luthier is the AI assistant beside the board. You can ask it about a connection you don’t understand or have it explain a wiring check.
If it suggests changing the board, you can review the change before applying it and undo it afterwards. Pro includes AI assistance with a usage limit; your remaining allowance is shown in the app.
Move from designing to building
Save your board when you’re ready to build. Tinkercaster generates a plan from it and tells you what needs attention before you start.
Confirm that you have the parts and your multimeter, and that you can identify the wires the plan needs. The build uses a saved copy of the planned circuit as your reference throughout the work.
Follow the current step’s connection instructions. If you need help with the technique, you can open it from the build view. Record the required meter readings and mark each step complete once you’ve done the physical work.
Pause when a reading doesn’t make sense
Before moving on, follow the checkpoint’s guidance. Check the meter settings and probe contact, then compare the physical connection with the drawing. Keep the earlier reading when you retest so you can see what changed.
You can stop and return to your saved build progress later. Check that your latest changes have saved before closing the workbench.
Keep the useful references close
The soldering cheat sheet is a quick reference to keep beside you while you work. Look up parts in the component catalog, or open the courses when you want a fuller explanation.