 Tinkercaster
Wiring ideas
How to wire a Telecaster with a neck humbucker
A humbucker in the neck and a Tele single coil in the bridge on a three-way blade: the Tonerider and DiMarzio sheets lead by lead, with the colours that differ.
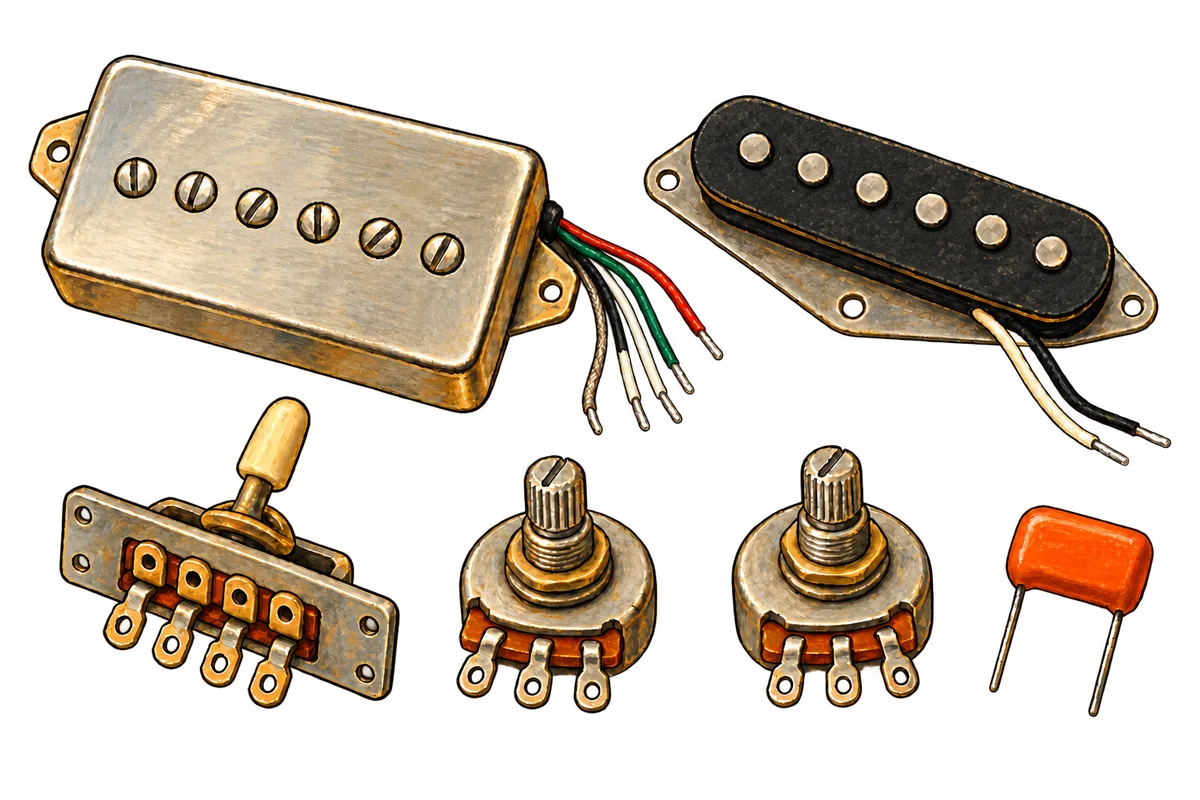
A Telecaster with a humbucker in the neck keeps the standard Tele harness: a three-way blade, one volume, one tone, and the usual neck, both, bridge settings. The humbucker’s hot lead goes to the neck common on the switch, its ground and bare leads go to the volume casing, and its two remaining leads are soldered together and taped off.
Which colour is the hot depends on the sheet, and the two makers’ sheets here don’t agree. This article walks through Tonerider’s HT-11L3 lead by lead, then compares DiMarzio’s version of the same harness.
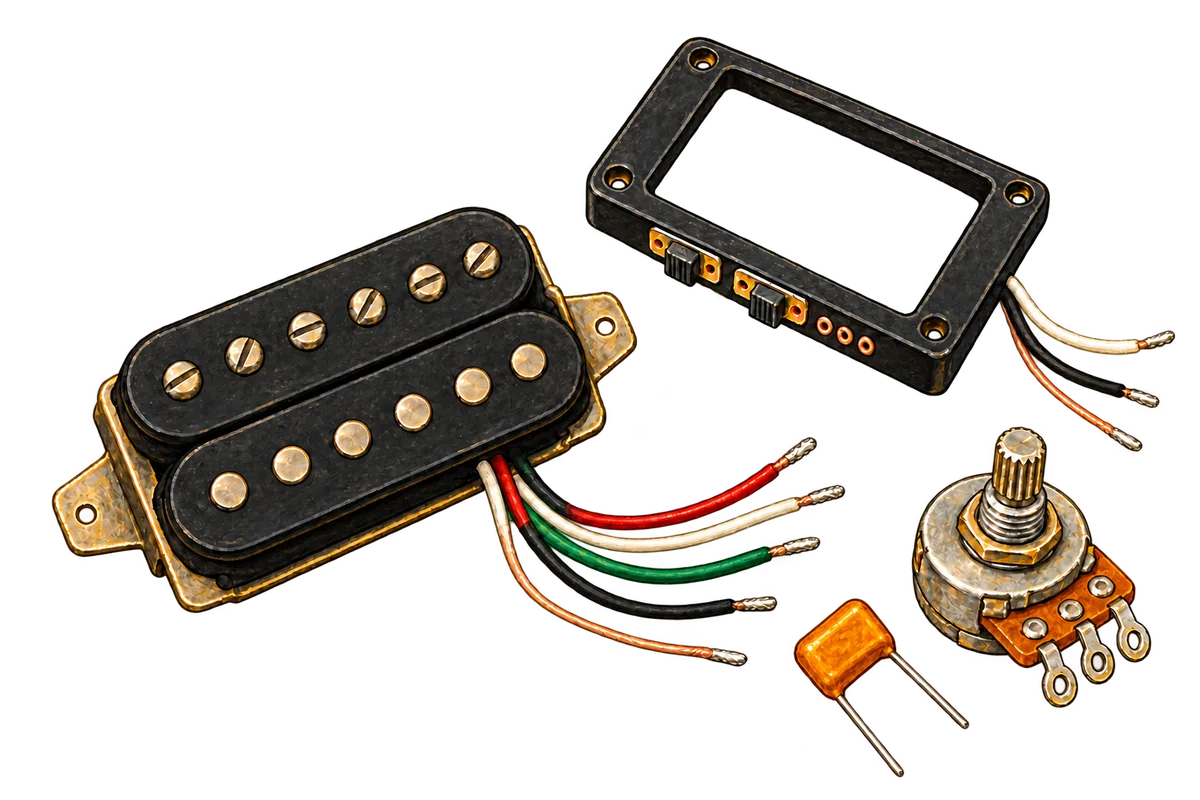
The parts each sheet asks for
| Part | Tonerider HT-11L3 | DiMarzio |
|---|---|---|
| Neck humbucker | Alnico 2 Classic | Neck pickup (not named on the sheet) |
| Bridge single coil | Vintage Plus Bridge | Twang King Bridge DP173 |
| Volume | 250k | 500K custom taper (EP1201) |
| Tone | 250k | 250K custom taper (EP1200) |
| Tone capacitor | .022µF | .022µF (EP1022) |
| Switch | Three-way blade | Three-way switch for Tele (EP1105) |
| Jack | Output jack | Switchcraft output jack, 2-conductor (EP1301) |
The Tonerider pickups are the examples our drawing uses. DiMarzio’s sheet names only the Twang King DP173 and labels the humbucker “NECK PICKUP”; our drawing of it uses the PAF Pro DP151 as an example. Tonerider’s diagram index captions the sheet “1 Humbucker / 1 Single Coil / 1 Vol / 1 Tone / 3-Way Blade”. The DiMarzio values and part numbers are printed on DiMarzio’s sheet. Our catalog parts for the pots, switch and jack are the CTS 250k and CTS 500k audio pots, the CRL 3-way blade and the Switchcraft #11.
DiMarzio uses a 500K volume where Tonerider uses 250k, and pairs it with a 250K tone. Our 250k vs 500k pots article explains the convention behind that choice.
Walkthrough: Tonerider HT-11L3
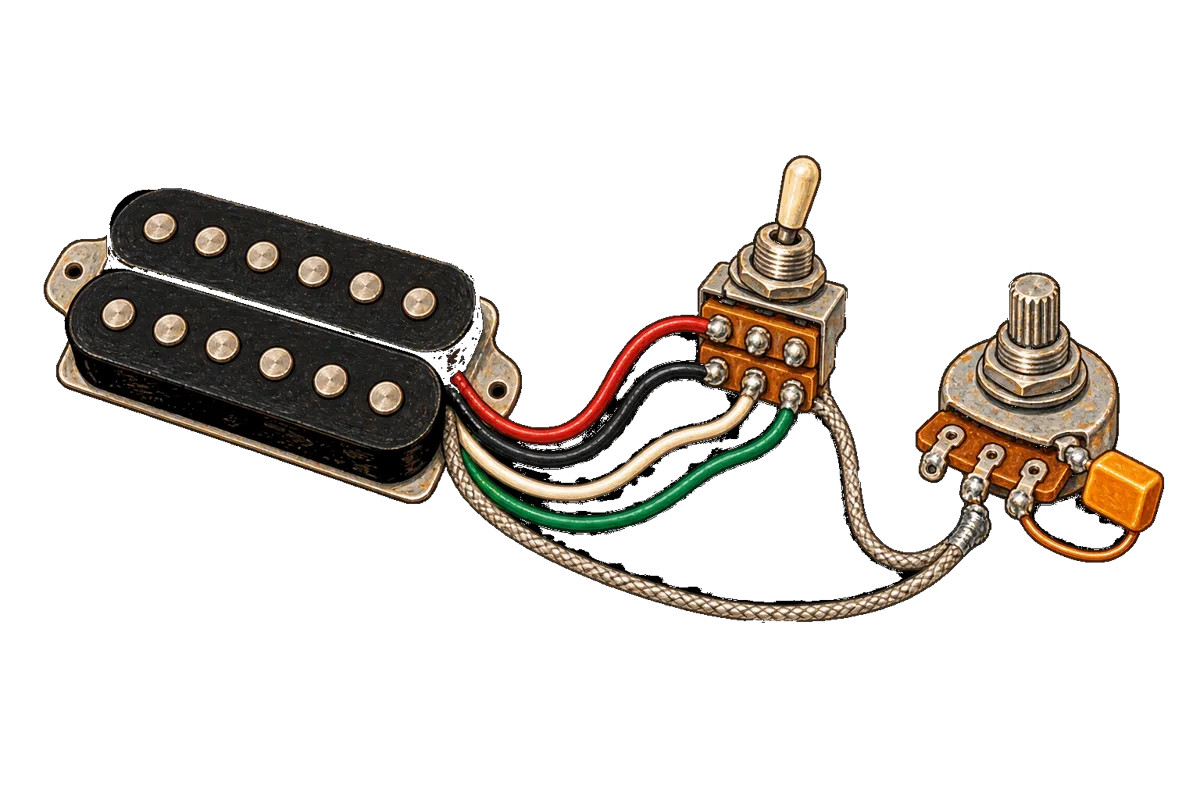
Tele with a neck humbucker and a Tele bridge pickup, drawn by Tinkercaster from Tonerider's HT-11L3 sheet (PDF).
Parts, connections and bench checks ↗Open interactive diagram ↗The neck humbucker has four leads and a bare shield. On this sheet:
- Green goes to the switch’s top-right lug, the neck common.
- Red and bare go to the volume casing.
- Black and white are soldered together and touch nothing else. The sheet’s note reads “Black and White Wires Solder Together”.
The bridge pickup has two leads. White goes to the switch’s bottom-left lug, the bridge common. Black goes to the volume casing, together with the wire labelled “From Bridge Ground”.
Then the switch and controls:
| From | To |
|---|---|
| Switch top-left lug | Switch second left lug (jumper) |
| Switch second left lug | Switch third right lug (jumper) |
| Switch third right lug | Switch bottom-right lug (jumper) |
| Switch bottom-right lug | Volume left lug (input) |
| Volume right lug | Volume casing |
| Volume left lug | Tone left lug |
| Tone middle lug | .022µF capacitor |
| .022µF capacitor | Tone casing |
| Volume middle lug | Jack tip |
| Volume casing | Tone casing |
| Tone casing | Jack sleeve |
The three jumpers join four switch lugs into one output, and two lugs stay empty. Tonerider doesn’t number the switch positions, so our drawing maps the lugs by what they do:
| Blade | Result in the diagram |
|---|---|
| Neck | Neck humbucker, both coils |
| Middle | Neck humbucker (both coils) and bridge pickup in parallel |
| Bridge | Bridge pickup |
The humbucker is never split here: black and white stay joined, so both coils play in every setting that selects the neck. To add a split, see our coil split wiring diagram guide.
The colours: why Tonerider’s Tele sheet looks backwards
On HT-11L3, green goes to the switch and red goes to ground. Tonerider’s own two-humbucker sheet does the opposite. 2 Humbuckers, 1 Volume, 1 Tone (3 Way Toggle), which the PDF lists for all of Tonerider’s 4-conductor AC and H series humbuckers, puts each red on the toggle and each green and bare on the volume casing. Both sheets join black to white.
Tonerider’s colour code chart lists its humbucker leads as red and black for the slug coil’s start and finish, and white and green for the screw coil’s finish and start. Read against that chart, both sheets take the signal through the same two coils in series, joined at the black and white link. They enter from opposite ends: HT-11L3 at the screw coil’s green start, the two-humbucker sheet at the slug coil’s red start. The chart doesn’t say which lead is hot, and it sends questions to Tonerider.
Our drawing follows HT-11L3 as printed. If your Tonerider humbucker came with a different sheet, wire to the sheet that came with it, and ask Tonerider if the two disagree. Our pickup wire colour codes article compares the codes makers use.
DiMarzio: red hot, and the bridge ground on the jack
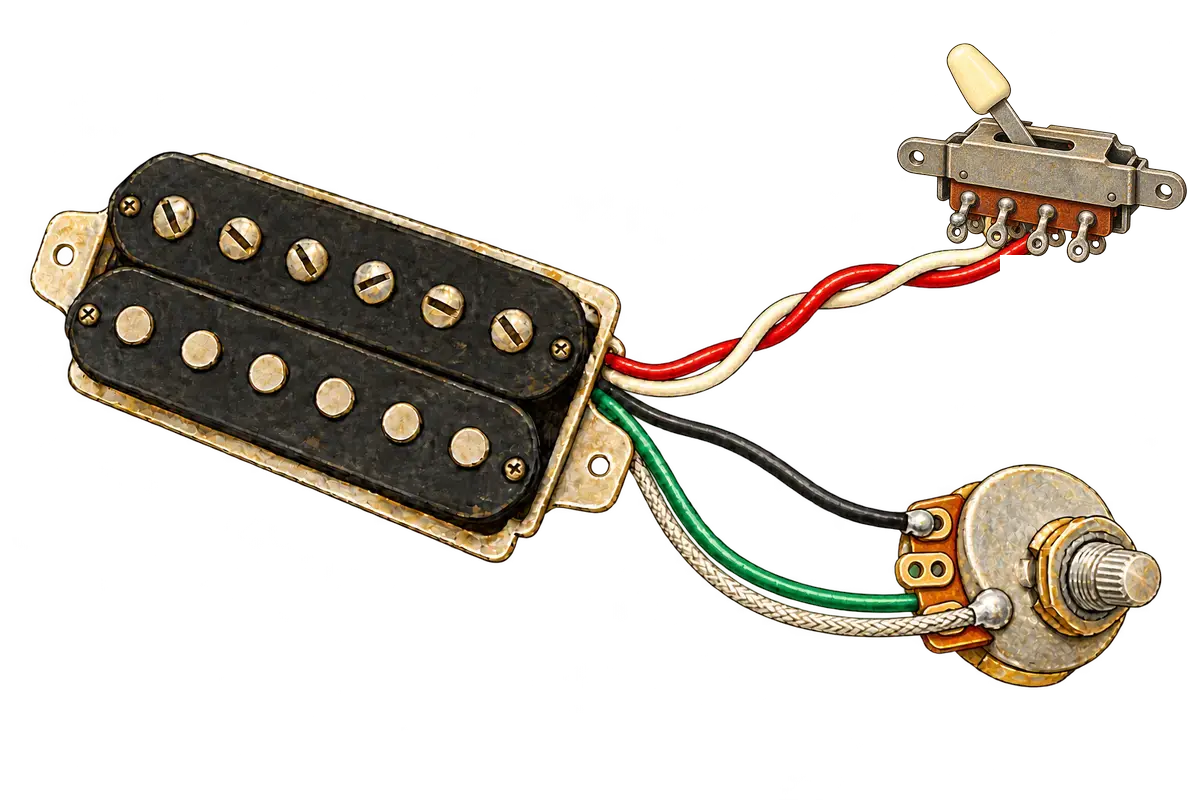
Telecaster with a single-coil bridge and a humbucker neck, drawn by Tinkercaster from DiMarzio's Standard Tele Bridge with Humbucker Neck Wiring.
Parts, connections and bench checks ↗Open interactive diagram ↗DiMarzio’s sheet draws the switch on its side, so our drawing names its lugs by row. The humbucker’s red goes to the top row’s first lug. Green and bare go to the volume casing, and black and white are joined and insulated. The Twang King bridge has three leads: white goes to the bottom row’s fourth lug, and black and gray go to the volume casing.
Three things differ from the Tonerider harness:
- The jumpers. They run from the bottom row’s first lug to its second, then to the top row’s third and fourth. The top row’s fourth lug feeds the volume’s input.
- The tone. The volume’s input lug goes to the tone pot’s middle lug, and the capacitor sits on an end lug. On Tonerider’s sheet the wire lands on the tone’s end lug and the capacitor on the middle one.
- The ground. The wire marked “To bridge ground” goes to the jack’s sleeve, not the volume casing.
DiMarzio’s sheet gives no position legend. Our drawing maps the switch the same way: neck humbucker with both coils, neck and Twang King in parallel, and Twang King alone.
Which lead goes to the switch
Of the two sheets, Tonerider’s HT-11L3 puts green on the switch and DiMarzio puts red there. Both ground the bare shield on the volume casing and join black to white. Use the sheet from the maker of the humbucker you are fitting.
Bench checks before you plug in
These checks come from the diagrams. Set the meter to resistance and measure across the jack’s tip and sleeve with the volume on full:
- In each blade setting the meter should read the selected pickup, or the two in parallel in the middle.
- With the volume at zero, tip and sleeve should read as a short.
- On the DiMarzio harness, the taped black and white joint should read about one coil’s resistance to ground, roughly half the pickup’s total: not open, and not zero.
Our multimeter course covers setting up the meter.
Next step
Open the Tonerider HT-11L3 diagram, or the drawing for your humbucker’s maker, and keep it beside the bench while you wire. For a four-way switch instead of three, see how to wire a Telecaster with a 4-way switch. More layouts are in the wiring diagram library.
References
From the Tinkercaster library
- Tele with a neck humbucker and a Tele bridge pickup (Tonerider HT-11L3): leads, switch lugs, positions and bench checks
- Telecaster with a single-coil bridge and a humbucker neck (DiMarzio): red hot, tone wiper input, bridge ground on the jack
- Two humbuckers, three-way toggle, one volume and one tone (Tonerider): red on the toggle
Manufacturer sources
- Tonerider, HT-11L3 Humbucker + Tele Bridge (PDF): 250k volume and tone, .022µF, “Black and White Wires Solder Together”
- Tonerider, wiring diagrams: the sheet’s caption
- Tonerider, 2 Humbuckers, 1 Volume, 1 Tone (3 Way Toggle) (PDF): red on the toggle for AC and H series humbuckers
- Tonerider, pickup wiring colour codes: slug coil red and black, screw coil white and green
- DiMarzio, Standard Tele Bridge with Humbucker Neck Wiring and the same sheet as a PDF: 500K and 250K custom taper pots, .022µF, EP1105 switch, Twang King DP173 leads; the humbucker is labelled only “NECK PICKUP”